Monday, May 15, 2006

Another shot...

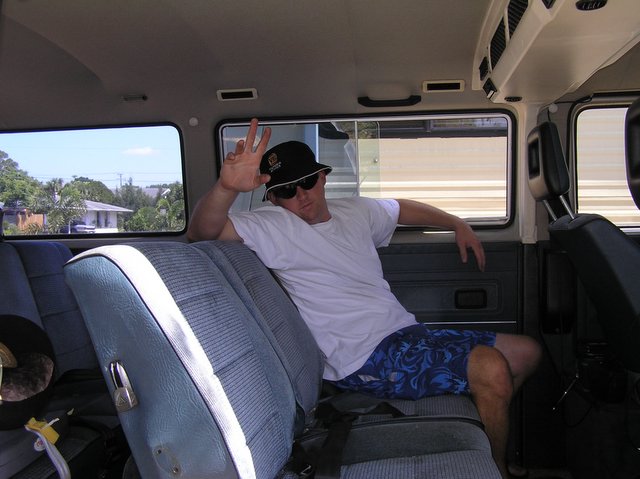
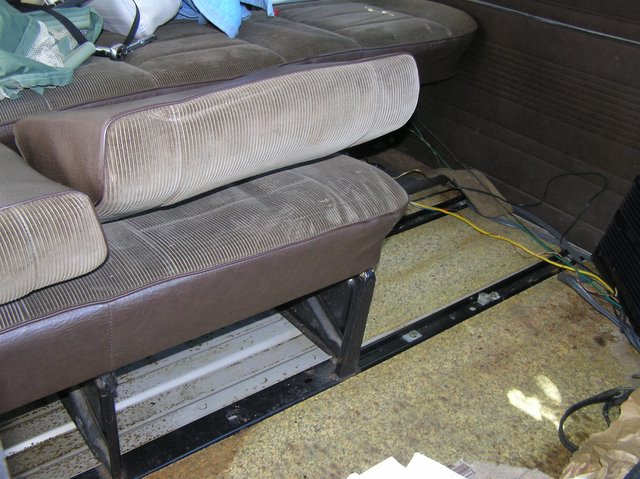
Don't mind the garbage in the backseat...its goin' to goodwill...

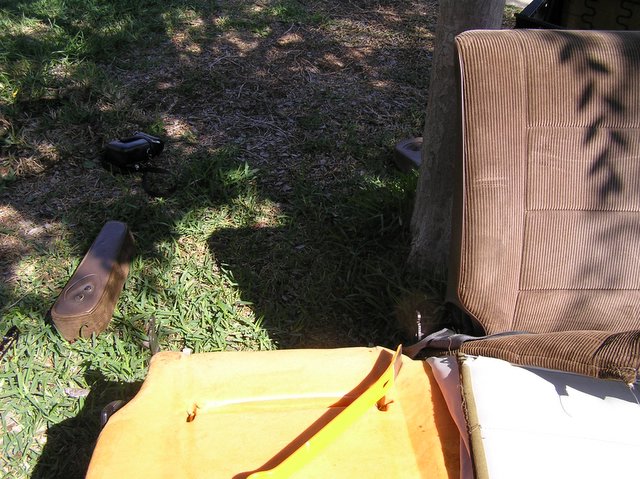
I had to remove the armrests to get the seat in all the way...anyone need any blue or corduroy brown armrests?? Posted by Picasa

Installed

I put the trim pieces back in and voila...a new seat...looks much better covered up with the carseat....you can't even see the color difference... Posted by Picasa

Carpet Cutting

this part isn't rocket science...ok, so none of it was... Posted by Picasa

Slid in old seat...

Slid and mounted old seat in...now to replace the insulation....using razor blade... Posted by Picasa

Donor seat in...

Note that I am only using 2 of the 13mm bolts on this one...front and back...I had to drill holes ~3 1/4" to the left of the existing hole (the oblong one) Posted by Picasa

Mounting rails

The bolt holes are determining where to drill (if necessary) in the bottom of the seat brackets to fit those 13mm bolts again...I slid it in place, marked the existing holes in the seat on the track with pencil and then measured and drilled where necessary... Posted by Picasa

Where't that file?

I had to use the metal file on my swiss army knife...go figure I found my file today...

I don't want any sharp edges...I spray painted the edges with black grill paint (was all that was lyin round) just to finish it off... Posted by Picasa

its not mounted yet

I slid it in just for size...with my fat can on it you can't even see that its brown... Posted by Picasa

when's it gonna be done?

the natives started to get restless... Posted by Picasa

Cuts

you can see sort of where I cut it... Posted by Picasa

More cutting

Shadetree all the way... Posted by Picasa

SAWZALL PART 2

Here's where I started having fun...

But just remember to cut where you have a solid foundation to rest the saw...or use a hacksaw... Posted by Picasa

seatback gone...

 Posted by Picasa

Remove seatback...

The seatback needs to come off of the discard side...its held on with two large pins and circlip thingy's...

Pry them out, pull the pins, use the latch to push the seat forward (like you were folding down the couch) and the setaback pops out... Posted by Picasa

Pulling the foam

This stuff cut pretty easily with a drywall saw... Posted by Picasa

Seat wire...

In order to pull the seat fabric up, I had to cut the wire that held the seat piping together...after that it took some tugs but came up... Posted by Picasa

Back to the donor seat...

I had to remove the upholstery on one side to get to the seat cushion to cut in half...

These are what I think they call upholstery tacks or staples or whatever...They seemed like little copper nails...I just used a pair of needle nose to bend em out... Posted by Picasa

Gaps between rails

There are some small gaps between the rails, however, there will still be 4 bolts holding down these tracks... Posted by Picasa

Careful with that axe Eugene

I don't recommend this...but its how I cut the rails...RYOBI SAWZALL TO THE RESCUE!!! Posted by Picasa

Donor marked tracks

I was a bit generous with the tracks...I didn't want to have to match them too closely to the other tracks...

Note the brass coloured hardware still bolted in...that's what we attach the seat to with the 13mm bolts... Posted by Picasa

Back to the recipient

I am measuring and marking the seat tracks...oh yeah, btw, to get them out, they are 17 mm bolts...they had some gook (prolly some kind of caulk) holding the track down to the floor...I just pried it out after undoing the bolts...

Sidewalk chalk works good for marking things... Posted by Picasa

Tracks

I need these tracks OUT to cut and hold the seat in... Posted by Picasa

Sliding seat out...

halfway out... Posted by Picasa

Seat Base

There are four 13 mm head bolts that hold the seat to the tracks... Posted by Picasa

7 to 8 pax

This is what the donor van looked like under the carpet...yuck!

Note the 2 tracks, one longer than the other... The 3 plugs you see are pre threaded holes that I will utilize on the recipient to mount tracks... Posted by Picasa